

Mercuna Ground Navigation has been designed to be easy to use. This setup guide will help you quickly get Mercuna navigating your pawns around your levels.
1. Installing the plugin
The Mercuna plugin requires Unreal Engine 5.3 or later, if you’re using an older version you must upgrade your project first.
- Binary evaluation – The binary evaluation version of Mercuna must be installed as an Engine plugin – unzip the archive and copy the Mercuna directory to the Plugins/Marketplace directory (you may need to create the Marketplace subdirectory) within your Unreal Engine 5 install, e.g. UnrealEngineDir/Engine/Plugins/Marketplace/Mercuna.
- Source version – For source versions of Mercuna, it can be used either as a Game plugin or, if you are building the engine from source, as an Engine plugin. Simply copy the Mercuna directory into the Plugins directory in your Game/Engine folder.
Once installed, the plugin will be loaded automatically when you open your game project.
2. Configure Agent Types
Under the Plugins | Mercuna section of Project Settings, set up appropriate Ground Agent Types. These specify the parameters for the different kinds of agents that will navigate using Mercuna Ground navigation.
A default agent type suitable for Characters is configured for you. For animals and vehicles you should create new agent types and adjust the properties to match your agent.
 3. Level Setup
In order for pawns to move, a Mercuna Navigation Grid must be added to your levels. By default a Navigation Grid will be automatically created when you add the Mercuna Nav Grid Volume.
- Drag a Mercuna Nav Grid Volume actor into your level and resize the box to surround the entire level.
- Drag a Mercuna Nav Seed into your level and place it on the ground in a clear area within the nav volume.
- Select the automatically created Mercuna Nav Grid actor and in the Generation properties set the Supported Agent Types that this grid will support.
 From the Mercuna menu select Build Grid and wait for generation to complete.
 4. Pawn setup
Mercuna Ground Navigation works with vehicles (Pawns with a VehicleMovement component), and animals and characters (Characters with a CharacterMovement component).
In order to register your pawn with Mercuna add a MercunaGroundNavigation component.
In the Configuration section of the component’s properties then set the appropriate Agent Type for the pawn.
In addition, you should add a MercunaObstacle component as a child of the root scene component so that the pawn is treated as an obstacle by other Mercuna controlled pawns.
Finally, on any mesh or collision components on the pawn, under their Collision properties, ensure that “Can Ever Affect Navigation” is unchecked – this stops the pawn being considered as a static object in the navigation grid.
Animating with Manny
If you are using the Unreal default animation blueprint ABP_Manny, animations will only play if the character acceleration is non-zero. Mercuna can set these accelerations (i.e. control following via accelerations) if UseAccelerationForPaths is set on the CharacterMovementComponent. Note however that path following is superior if this is disabled.
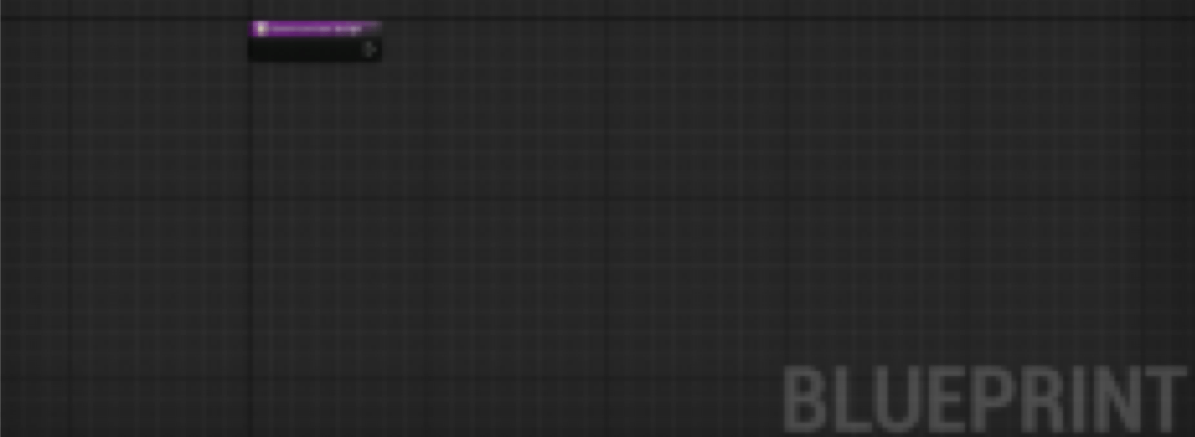
5. Setup Blueprint commands
Your pawns can be ordered to move around using Blueprint commands. A simple example of using a Mercuna | Ground Navigation | Move to Actor node in the Level Blueprint to send a pawn to a target point is shown below.
 Now when you enter Play mode, you should see your pawn drive or run to the target point and stop there.
See the Mercuna Ground Navigation UE User Guide for more information on how to configure the Mercuna system, along with details of more advanced uses.